

As a licensed esthetician, delivering flawless eyebrow waxing results isn’t just about technique—it’s about understanding your clients' unique needs, mastering precision, and using the best tools and products. Brows frame the face and have a major impact on your clients’ overall looks, so it’s crucial to understand how to wax eyebrows like a pro.
Table of Contents
In this guide, we’ll explore the best practices for achieving perfect brows through professional waxing. Whether you’re refining your skills or looking to elevate your brow services, these tips will ensure that all your clients get the brows they love.
With Starpil PRO’s professional eyebrow waxing products collection, you’ll have the tools for the most effective services and flawless results.

READ: Steps to Becoming a Professional Waxer: A Comprehensive Guide
Understanding Brow Shapes and Client Consultations
Before picking up the wax, a comprehensive understanding of brow shapes and how to determine the best one for your client is essential. No two faces are the same, and customized brow shaping is what sets professionals apart from amateurs.
- Assessing Face Shapes and Brow Goals
Each client’s face shape plays a significant role in determining their ideal brow style. For example:
- Round Faces: Often benefit from a high arch to create the illusion of a longer, more defined face.
- Square Faces: Softer, rounded brows help balance the angles.
- Oval Faces: Typically suit most brow shapes but often look best with a softly angled arch.
- Heart-Shaped Faces: A low arch and rounded shape balances out a wider forehead.
Take the time to consult with your client, understand their brow goals, and align your design with their face shape and natural brow growth pattern.

- Mapping Brows for Symmetry and Precision
Eyebrow mapping is an essential step to achieving perfectly symmetrical brows. Mapping helps to ensure that the brows are balanced and shaped according to the client’s natural structure. Here’s a basic method for brow mapping:
- Start Point: Use a white brow pencil to mark the starting point of the brow, which should align with the edge of the nostril.
- Arch Point: Determine the highest point of the arch by lining up a pencil diagonally from the nostril through the pupil.
- End Point: The tail of the brow should extend to the outer corner of the eye, aligned with the nostril.
- Once mapped out, you can confidently clean up the excess hair while maintaining symmetry and the desired shape.
READ: How to Start a Successful Waxing Business From Scratch
Pre-Wax Care for the Brow Area
Proper skin preparation is key to achieving a smooth, irritation-free waxing experience. Since the brow area is delicate, using the right pre-wax products is critical.
- Exfoliating
24 hours before waxing, performing a light exfoliation can help lift dead skin cells and allow the wax to adhere better, resulting in a cleaner removal.
- Cleansing
Begin by cleansing the brow area to remove makeup, oils, and any impurities. Using Starpil Pre-Wax Gel is ideal for prepping the skin while creating the perfect surface for waxing.
READ: How to Choose the Best Wax Pot for Your Business

Tips for Flawless Brow Waxing
Once your client’s brows are mapped and the skin is prepped, it’s time to get to work. The waxing process is where your skill and precision come into play.
- Choosing the Right Wax
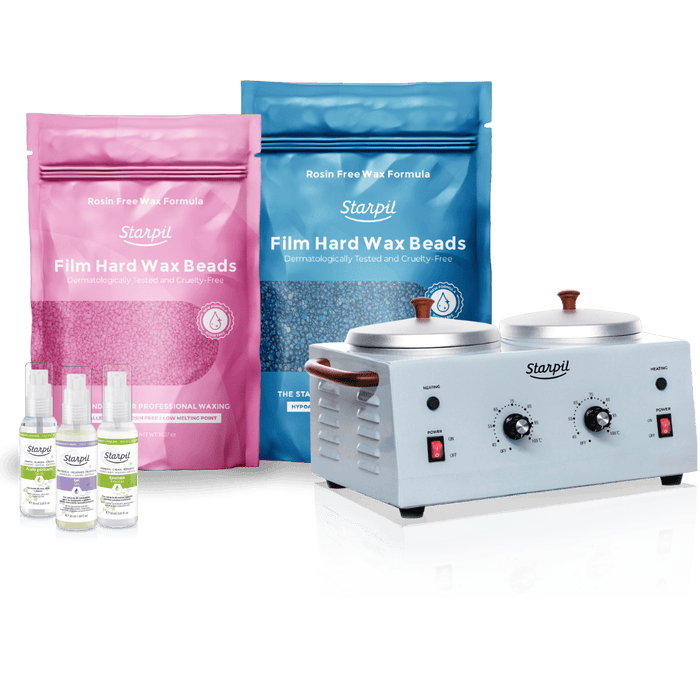
For brow waxing, hard wax is usually the preferred choice due to its ability to grip fine and short hairs while being gentle on the skin. Hard wax allows for better control in small, delicate areas and reduces the risk of irritation. The waxes we recommend for client brows are:
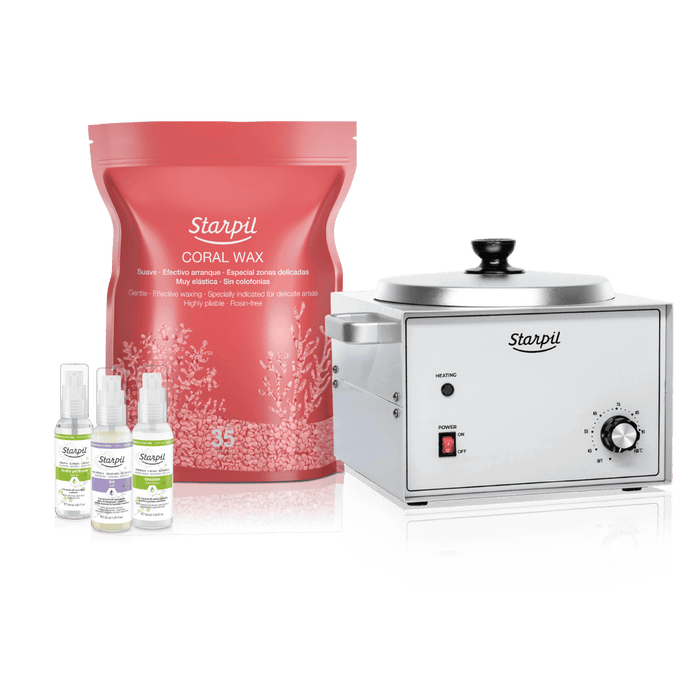
Starpil Rosin-Free Pink Hard Wax: Rosin-Free Pink Hard Wax is designed to soothe delicate facial skin during the waxing process thanks to its active ingredient of titanium dioxide, while gripping and removing fine or hard-to-reach hairs with ease.
Starpil Starsoft Hard Wax: Designed for those with hypersensitive, dry, or aged skin, Starsoft makes sensitive facial and brow waxing easy. This wax removes hair easily while dulling pain and inflammation.

- Wax Application and Removal Techniques
- Apply in Small Sections: When working with brows, less is more. Apply the wax in small, precise sections to maintain control and avoid over-removal.
- Direction Matters: Always apply wax in the direction of hair growth and remove it against the growth. This ensures a cleaner pull and reduces breakage.
- Hold the Skin: When removing the wax, hold the skin taut to minimize discomfort and achieve cleaner results. Pull the wax off swiftly and parallel to the skin, not upward, to avoid lifting.
- Tweezing for Perfection
After waxing, use tweezers to remove any stray hairs that the wax may have missed. Tweezing allows for precision and helps perfect the shape without over-removing.
READ: What is the Best Wax for Professionals?
Post-Wax Care for Brow Waxing
Once the waxing is complete, it’s crucial to soothe the skin and maintain the shape with appropriate post-wax care products.
- Soothing and Hydrating the Skin
The skin around the brows can be sensitive after waxing, so applying Starpil Post-Wax Lotion and Post-Wax Oil is essential.

Whether using our Original formula or our Starsoft or Calendula lines for more sensitive or breakout-prone skin, these products will hydrate and soothe skin post-wax.
- Educating Your Clients on Aftercare
Educate your clients on the importance of keeping the area clean and avoiding makeup, exfoliation, or sun exposure for at least 24 hours post-wax. Providing them with post-wax care products can help them maintain their results and avoid irritation. If they’re concerned about ingrowns, recommend Starpil Ingrown Hair Serum for use 24 hours after waxing.

READ: Pro Tips for Giving Your Client the Perfect Brazilian Wax Experience
Final Thoughts
Using the right techniques to achieve the perfect brows for your clients’ unique face shapes and brow goals. As a professional, you of course know how important it is to have the right methods and products by your side to give your clients the best results.
Achieve Perfect Brows: How to Wax Eyebrows for Professionals | FAQs
How do I determine the best eyebrow shape for different face shapes?
Understanding face shapes is crucial for creating flattering brows. Round faces often benefit from high arches to create the illusion of length and definition, while square faces look best with softer, rounded brows that balance angular features. Oval faces typically suit most brow shapes but look great with softly angled arches. Heart-shaped faces benefit from low arches and rounded shapes to balance wider foreheads. Always conduct a thorough consultation to understand your client's brow goals and align your design with both their face shape and natural brow growth pattern for the most flattering results.
What is eyebrow mapping and why is it essential for professional results?
Eyebrow mapping is a technique that ensures perfectly symmetrical and proportional brows by marking key points before waxing. Using a white brow pencil, mark three critical points: the start point (aligned with the edge of the nostril), the arch point (determined by lining up a pencil diagonally from the nostril through the pupil), and the end point (extending to the outer corner of the eye, aligned with the nostril). This mapping process helps maintain symmetry and creates a guide for removing excess hair while preserving the desired shape, ensuring professional-quality results every time.
Which type of wax is best for eyebrow waxing and why?
Hard wax is the preferred choice for eyebrow waxing because it grips fine and short hairs effectively while being gentler on delicate facial skin. Hard wax provides better control in small, precise areas and reduces the risk of irritation. Recommended options include Starpil Rosin-Free Hypoallergenic Pink Hard Wax, which contains titanium dioxide to soothe delicate facial skin while effectively removing fine hairs, and Starpil Starsoft Hard Wax, specifically designed for hypersensitive, dry, or aged skin. Hard wax also allows for more precise application and removal in the small, detailed areas around the eyebrows.
What's the proper technique for applying and removing wax on eyebrows?
When waxing eyebrows, precision is key. Apply wax in small sections to maintain control and avoid over-removal. Always apply wax in the direction of hair growth and remove it against the growth direction for cleaner results and reduced breakage. Hold the skin taut when removing wax to minimize discomfort and achieve cleaner results. Remove the wax swiftly and parallel to the skin surface, not upward, to prevent skin lifting. After waxing, use tweezers to remove any stray hairs the wax may have missed, allowing for final precision and perfect shape refinement.
What pre-wax and post-wax care is essential for eyebrow waxing?
Pre-wax preparation should include light exfoliation 24 hours before the appointment to lift dead skin cells and improve wax adherence. Immediately before waxing, cleanse the brow area thoroughly with products like Starpil Pre-Wax Gel to remove makeup, oils, and impurities. Post-wax care is equally important: apply soothing products like Starpil Post-Wax Lotion and Oil to hydrate and calm the sensitive skin. Educate clients to avoid makeup, exfoliation, and sun exposure for at least 24 hours post-wax. For clients concerned about ingrown hairs, recommend Starpil Ingrown Hair Serum for use 24 hours after waxing to maintain optimal results.
Professional Brazilian Waxing Kits for Estheticians
- Regular
- from $168.72
- Sale
- from $168.72
- Regular
-
$241.40
Sold Out
- Unit Price
- per
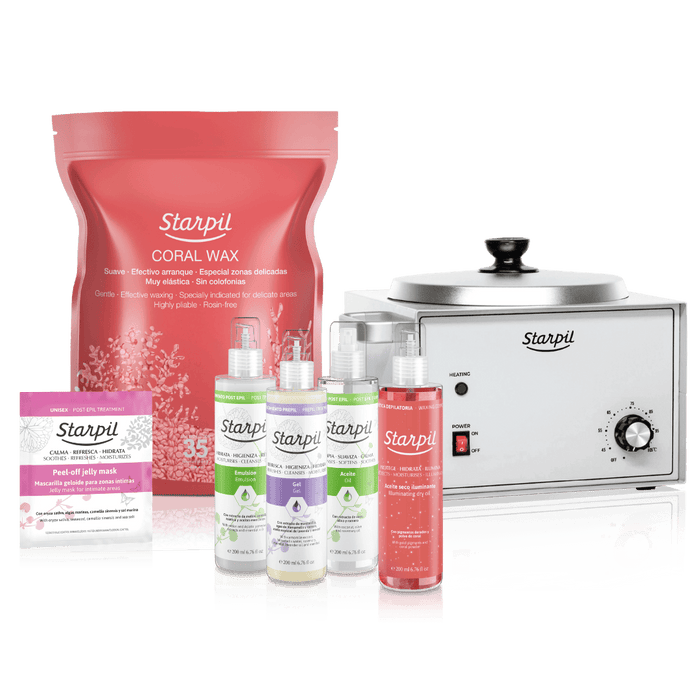
Facial Waxing Kits for Professionals
- Regular
- from $79.92
- Sale
- from $79.92
- Regular
-
$137.50
Sold Out
- Unit Price
- per
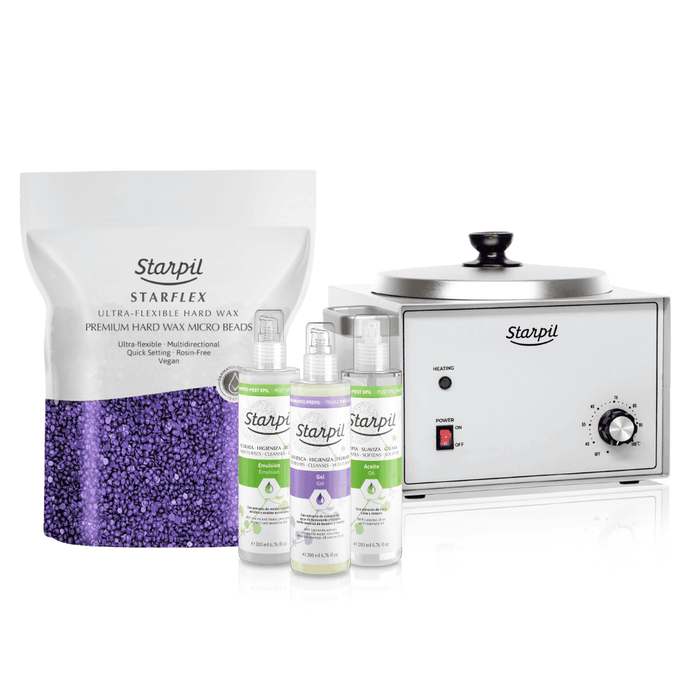
Versatile Full Body Waxing Kits for Estheticians
- Regular
- from $103.02
- Sale
- from $103.02
- Regular
-
$159.90
Sold Out
- Unit Price
- per

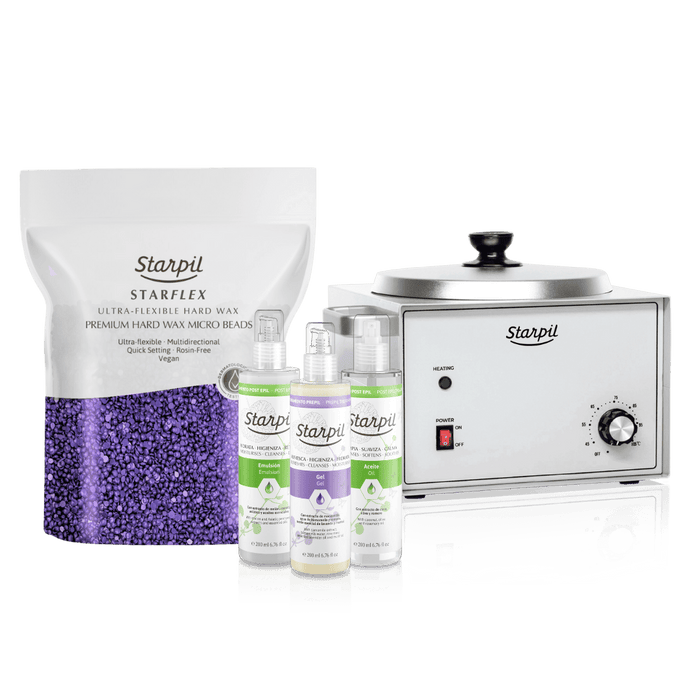
Standard Hard Wax Kit
- Regular
- $101.02
- Sale
- $101.02
- Regular
-
$197.90
Sold Out
- Unit Price
- per

Beginner Roll-on Wax Kit
- Regular
- from $93.82
- Sale
- from $93.82
- Regular
-
Sold Out
- Unit Price
- per
Speed Waxing Kits
- Regular
- from $80.99
- Sale
- from $80.99
- Regular
-
$129.10
Sold Out
- Unit Price
- per
Luxury Waxing Kits
- Regular
- $177.21
- Sale
- $177.21
- Regular
-
$212.50
Sold Out
- Unit Price
- per
Esthetician Student Waxing Kits
- Regular
- $138.60
- Sale
- $138.60
- Regular
-
$137.50
Sold Out
- Unit Price
- per
Trending Now
Brazilian Wax Etiquette - A Guide for Estheticians

Learn how to give a professional Brazilian wax with confidence. This guide covers essential Brazilian wax etiquette, client preparation tips, post-wax care, and recommended products to ensure a smooth, comfortable,...
Expert Tips for Efficient and Pain-Free Waxing

As a professional esthetician or salon owner, ensuring your clients have a smooth and pain-free waxing experience is essential for client satisfaction and retention. Even though waxing involves some discomfort,... Read More
How to Market Your Salon's Waxing Services Effectively

In the competitive esthetics industry, effective marketing is essential for attracting new waxing clients and retaining loyal ones. This comprehensive guide explores powerful strategies to promote your salon's waxing services,...