

Underarm waxing is a popular service that requires precision, technique, and attention to detail to ensure your clients are well taken care of. As a professional esthetician, mastering the art of underarm waxing will help you provide your clients with smooth, long-lasting results.
Table of Contents
When waxing new and existing clients, always cover your bases and practice proper sanitation, pre and post-wax care, and take your time when waxing. Remember, rushing can result in mistakes or missing hairs. This step-by-step guide covers the essential tips and techniques for achieving the perfect underarm wax.
READ: Pro Tips for Giving Your Clients the Perfect First Brazilian Wax Experience
Step 1: Preparing the Skin
Client Education
Always advise your clients to gently exfoliate the area 24-48 hours prior to their waxing appointment. This will help reduce the likelihood of ingrown hairs and make the waxing process more effective.
Cleanse and Sanitize the Area
Before starting the waxing process, it's essential to thoroughly cleanse the underarm area. Use Starpil Pre-Wax Gel to remove any deodorant, sweat, or oils that could interfere with the wax adhering to the hair. This step is crucial for preventing infections and ensuring a smooth waxing process.
Assess the Hair Length
For optimal results, the hair should be about 1/4 inch long, or around the size of a grain of rice. If the hair is too short, the wax may not grip it effectively.
READ: How to Choose the Best Wax Pot for Your Business

Step 2: Choosing the Right Wax
Select the Appropriate Wax Type
Underarm skin is sensitive, so choosing the right wax is critical. Hard wax is often preferred for underarm waxing because it adheres to the hair rather than the skin, reducing discomfort. It’s also ideal for coarse hair, which is common in underarm areas.
We typically recommend Rosin-Free Pink for underarm areas, Starsoft Hard Wax for those with particular sensitivities.

Consistency is Key
Before applying wax to the client’s skin, ensure your wax is the correct consistency. The wax should be a thick, honey-like texture, and easily spreadable. Maintaining the correct consistency is key to a smooth application and comfortable experience for the client. If you’re not sure about your wax’s consistency, check out our YouTube channel for helpful tips on our top formulas.
READ: How to Start a Profitable Waxing Business

Step 3: Application and Removal Techniques
Apply Wax in Sections
Apply the wax in sections, following the natural direction of hair growth. For underarms, this may involve applying the wax in multiple directions, as hair often grows in different patterns in this area. Be sure to use a firm but gentle hand to spread the wax evenly and create a clean edge for easy removal.
Removing the Wax
Once the wax is set but still pliable, hold the skin taut and remove the wax strip quickly against the direction of hair growth. Pulling the skin taut reduces pain and helps in removing the hair from the root more effectively. Always remove the wax parallel to the skin, and do not pull up in order to avoid skin lifting. Immediately apply pressure to the area with your hand to soothe the skin and reduce discomfort.
Addressing Missed Hairs
Some hairs might remain after the initial wax. For any missed spots, reapply wax or use tweezers to remove stubborn hairs. Be cautious when reapplying wax in the same area to avoid skin irritation.
READ: How to Organize Your Salon
Step 4: Post-Wax Care
Soothe and Protect the Skin
After waxing, apply a soothing post-wax lotion or post-wax oil to calm the skin and reduce redness.

Products containing aloe vera, chamomile, or tea tree oil are excellent for reducing inflammation and preventing irritation. Advise your clients to avoid applying deodorant or engaging in activities that cause excessive sweating or friction for 24 hours after waxing to minimize irritation.
Educate Your Clients on Aftercare
Provide your clients with post-wax care instructions to maintain smooth, healthy skin. Recommend that they exfoliate the underarm area 2-3 times a week to prevent ingrown hairs and use a gentle, alcohol-free deodorant to avoid irritation.
We recommend Starpil Pro’s Ingrown Hair Serum to help exfoliate and dissolve ingrown hairs before they form.

Proper post-wax care will enhance waxing results and help your clients enjoy their smooth skin longer.
READ: What is the Best Wax for Professionals?

Final Thoughts
Mastering underarm waxing requires a combination of the right products, techniques, and client care. By following these steps, you’ll be able to provide your clients with a comfortable, efficient, and effective underarm waxing experience.
With practice and attention to detail, you’ll build a loyal client base who trust you for their waxing needs.
Pro Tips for Waxing Underarms | FAQs
What's the ideal hair length for underarm waxing, and how should clients prepare?
For optimal underarm waxing results, the hair should be about 1/4 inch long, roughly the size of a grain of rice. If the hair is too short, the wax won't grip it effectively, leading to incomplete removal. Clients should be advised to gently exfoliate the underarm area 24-48 hours prior to their appointment to reduce the likelihood of ingrown hairs and make the waxing process more effective. They should also avoid applying deodorant on the day of their appointment, as oils and products can interfere with wax adhesion.
Why is hard wax preferred for underarm waxing over soft wax?
Hard wax is typically preferred for underarm waxing because it adheres to the hair rather than the skin, which significantly reduces discomfort during removal. Since underarm skin is particularly sensitive and the hair in this area tends to be coarse, hard wax provides a more comfortable experience for clients. Recommended options include Rosin-Free, Hypoallergenic Pink for general underarm waxing and Starsoft Hard Wax for clients with particular sensitivities. The wax should have a thick, honey-like consistency that's easily spreadable for optimal results.
How should I handle the different hair growth patterns in the underarm area?
Underarm hair often grows in multiple directions, which requires a strategic approach. Apply the wax in sections, carefully following the natural direction of hair growth in each area. This may mean applying wax in different directions within the same underarm. Use a firm but gentle hand to spread the wax evenly and create clean edges for easy removal. When removing the wax, always pull against the direction of hair growth while holding the skin taut, and remove the wax parallel to the skin rather than pulling upward to avoid skin lifting.
What's the proper technique for wax removal to minimize pain and maximize effectiveness?
The key to effective and comfortable wax removal is proper technique: hold the skin taut before removing the wax, as this reduces pain and helps remove hair from the root more effectively. Remove the wax strip quickly against the direction of hair growth, always pulling parallel to the skin surface rather than upward. Immediately after removal, apply firm pressure to the area with your hand to soothe the skin and reduce discomfort. If any hairs are missed, you can carefully reapply wax to small areas or use tweezers for stubborn individual hairs, being cautious to avoid skin irritation from over-waxing the same spot.
What post-wax care should I provide and recommend to clients?
Immediately after waxing, apply a soothing post-wax lotion or post-wax oil containing ingredients to calm the skin and reduce redness. Educate clients on proper aftercare: they should avoid applying deodorant or engaging in activities that cause excessive sweating or friction for 24 hours post-waxing. Recommend applying Starpil’s Ingrown Hair Serum to the armpits 24 hours after waxing to avoid the formation of ingrown hairs. For ongoing care, recommend exfoliating the underarm area 2 times per week to prevent ingrown hairs and using gentle, alcohol-free deodorants to avoid irritation.
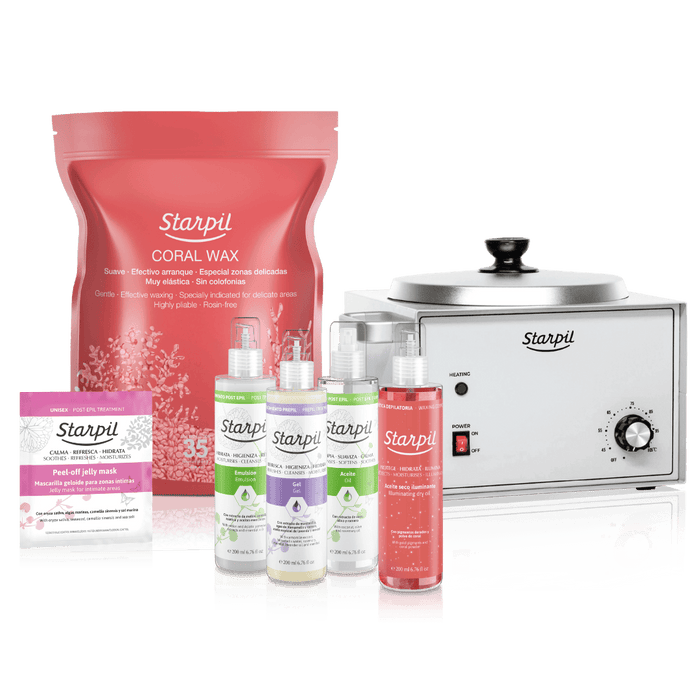
Professional Brazilian Waxing Kits for Estheticians
- Regular
- from $168.72
- Sale
- from $168.72
- Regular
-
$241.40
Sold Out
- Unit Price
- per
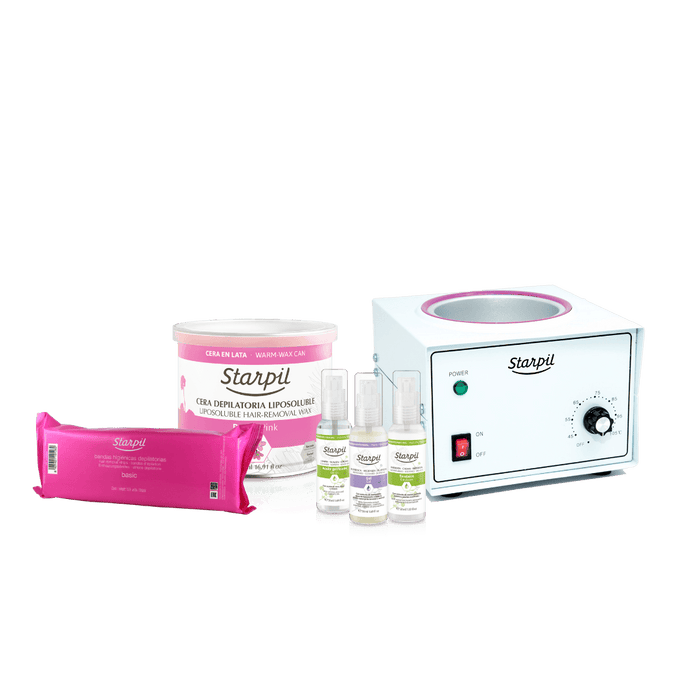
Facial Waxing Kits for Professionals
- Regular
- from $79.92
- Sale
- from $79.92
- Regular
-
$137.50
Sold Out
- Unit Price
- per
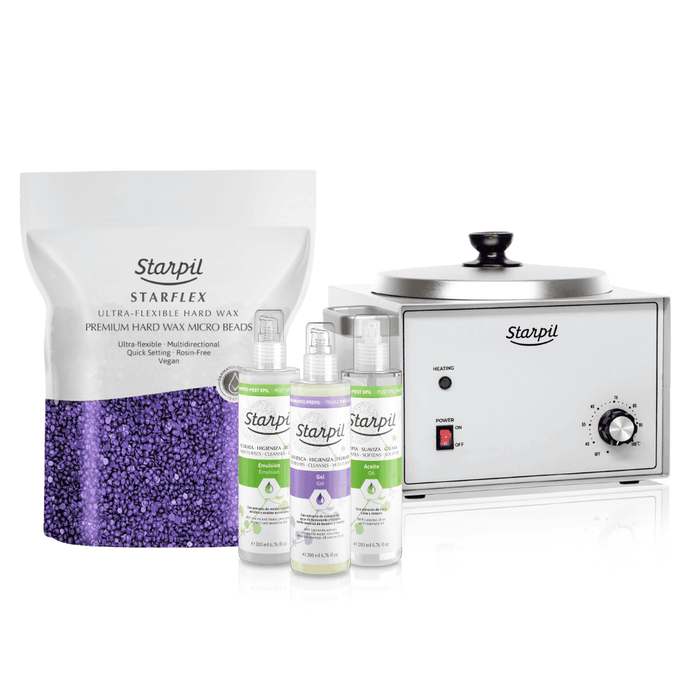
Versatile Full Body Waxing Kits for Estheticians
- Regular
- from $103.02
- Sale
- from $103.02
- Regular
-
$159.90
Sold Out
- Unit Price
- per

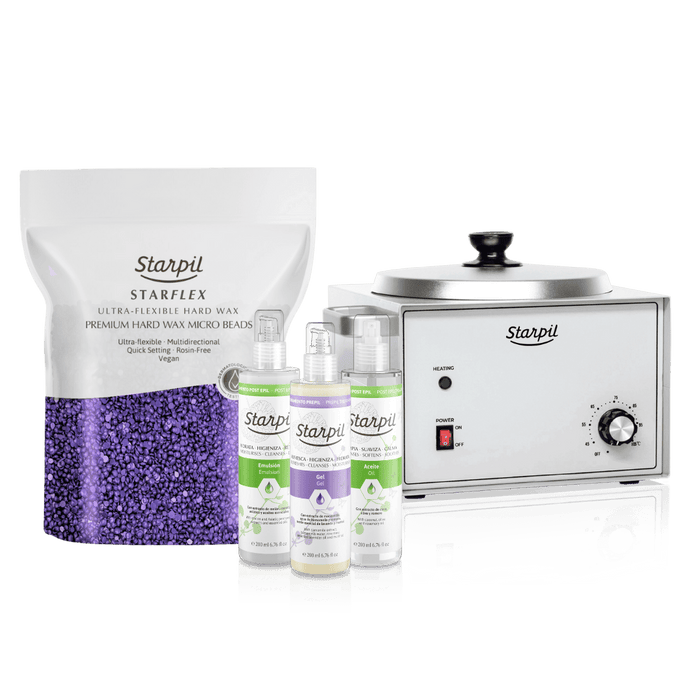
Standard Hard Wax Kit
- Regular
- $101.02
- Sale
- $101.02
- Regular
-
$197.90
Sold Out
- Unit Price
- per

Beginner Roll-on Wax Kit
- Regular
- from $93.82
- Sale
- from $93.82
- Regular
-
Sold Out
- Unit Price
- per
Speed Waxing Kits
- Regular
- from $80.99
- Sale
- from $80.99
- Regular
-
$129.10
Sold Out
- Unit Price
- per
Luxury Waxing Kits
- Regular
- $177.21
- Sale
- $177.21
- Regular
-
$212.50
Sold Out
- Unit Price
- per
Esthetician Student Waxing Kits
- Regular
- $138.60
- Sale
- $138.60
- Regular
-
$137.50
Sold Out
- Unit Price
- per
Trending Now
Brazilian Wax Etiquette - A Guide for Estheticians

Learn how to give a professional Brazilian wax with confidence. This guide covers essential Brazilian wax etiquette, client preparation tips, post-wax care, and recommended products to ensure a smooth, comfortable,...
Expert Tips for Efficient and Pain-Free Waxing

As a professional esthetician or salon owner, ensuring your clients have a smooth and pain-free waxing experience is essential for client satisfaction and retention. Even though waxing involves some discomfort,... Read More
How to Market Your Salon's Waxing Services Effectively

In the competitive esthetics industry, effective marketing is essential for attracting new waxing clients and retaining loyal ones. This comprehensive guide explores powerful strategies to promote your salon's waxing services,...